QR code configuration (the Edit View)
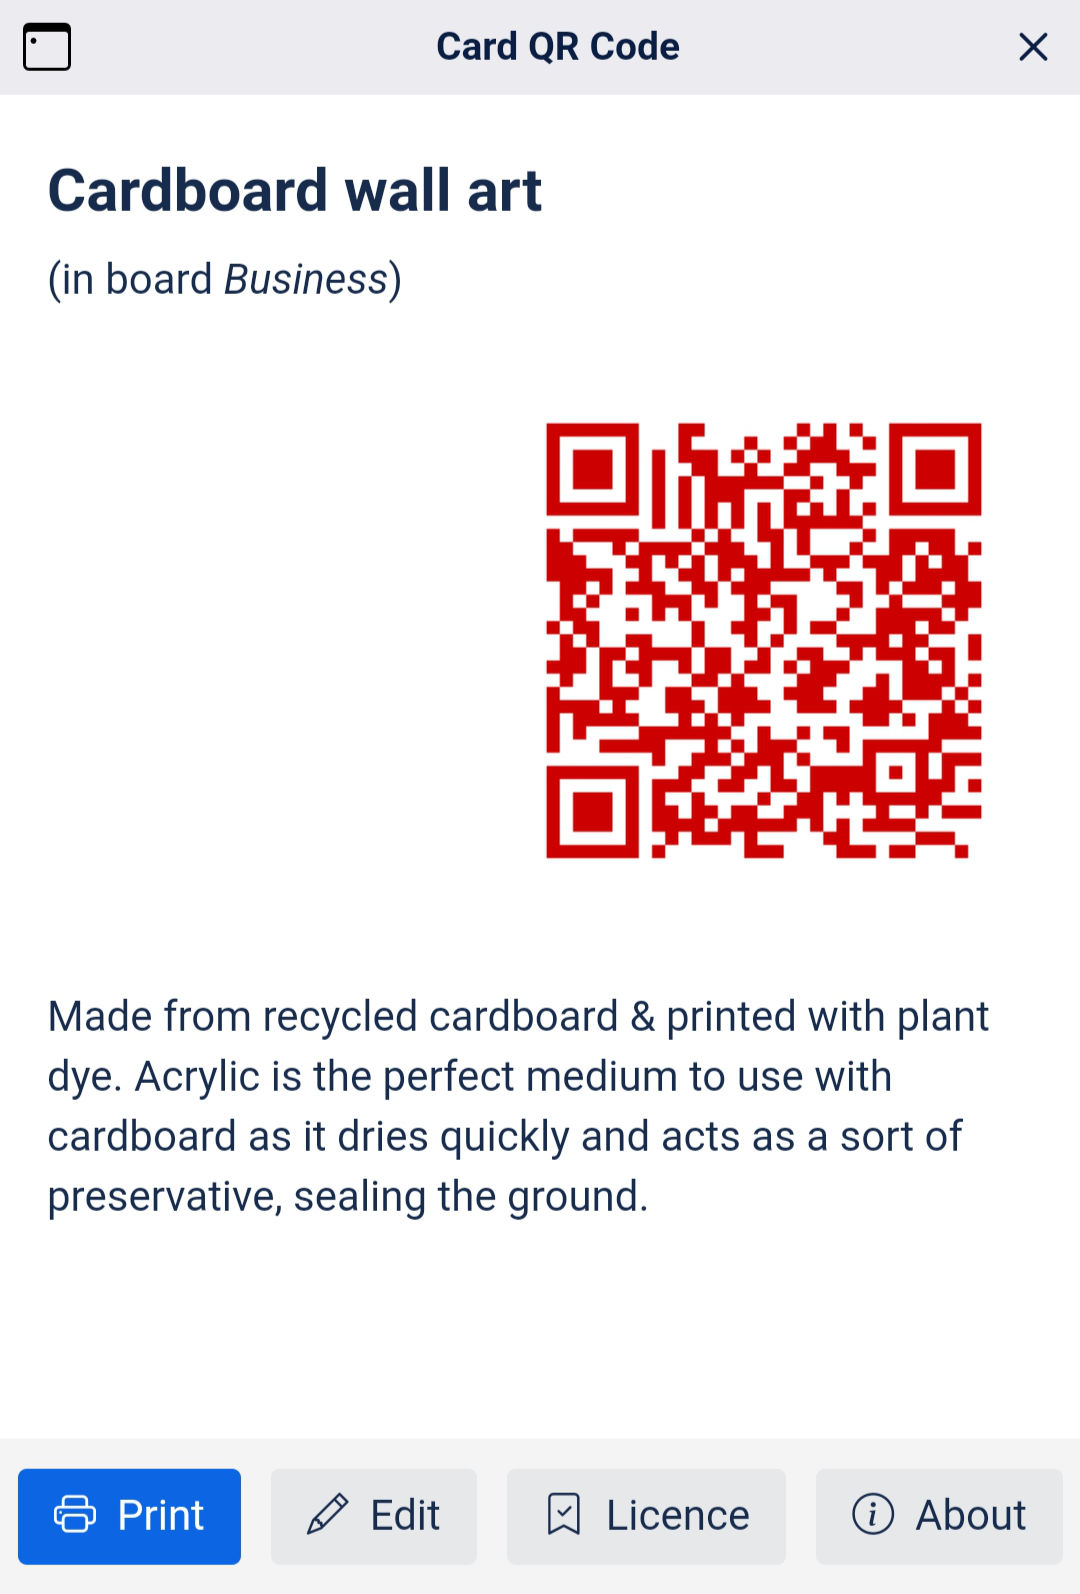
By clicking/tapping the Edit button in the Display view you access the Edit view, which is shown below. While the free version of the Power-Up allows you to change colour and size of the QR code, the licensed version, pictured below, enables you to also customize the text surrounding the actual QR code.
In particular, to format the text above and below the QR code you may use the same markup language used in the description of a standard Trello card. You may use placeholders to further customize the text.
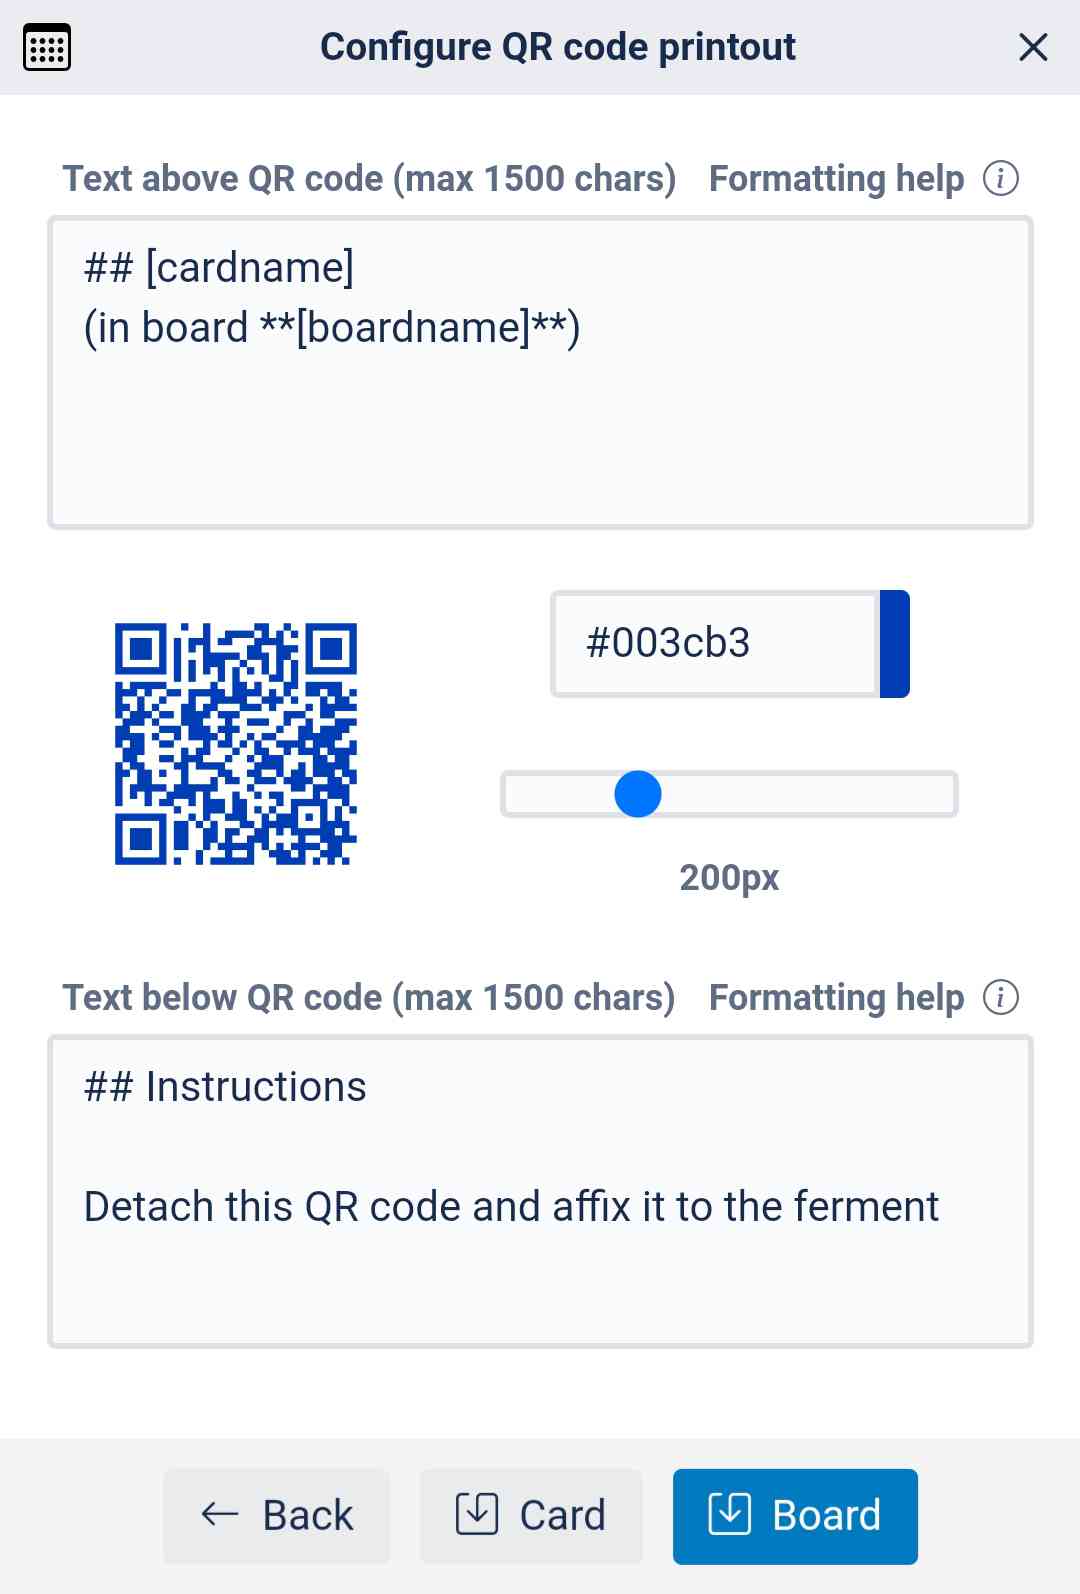
The top-left icon of the above view indicates that this card uses a configuration that applies to all the cards on this board. This default configuration can be changed and saved by clicking/tapping the Board button at the right of the bottom bar. If instead we wanted to create a specific configuration for this particular card, we would click/tap the Card button in the bottom bar.
The bottom bar highlights (in blue) either the Card or the Board button depending on whether the current configuration is specific to this card or applies by default to all the cards on this board.
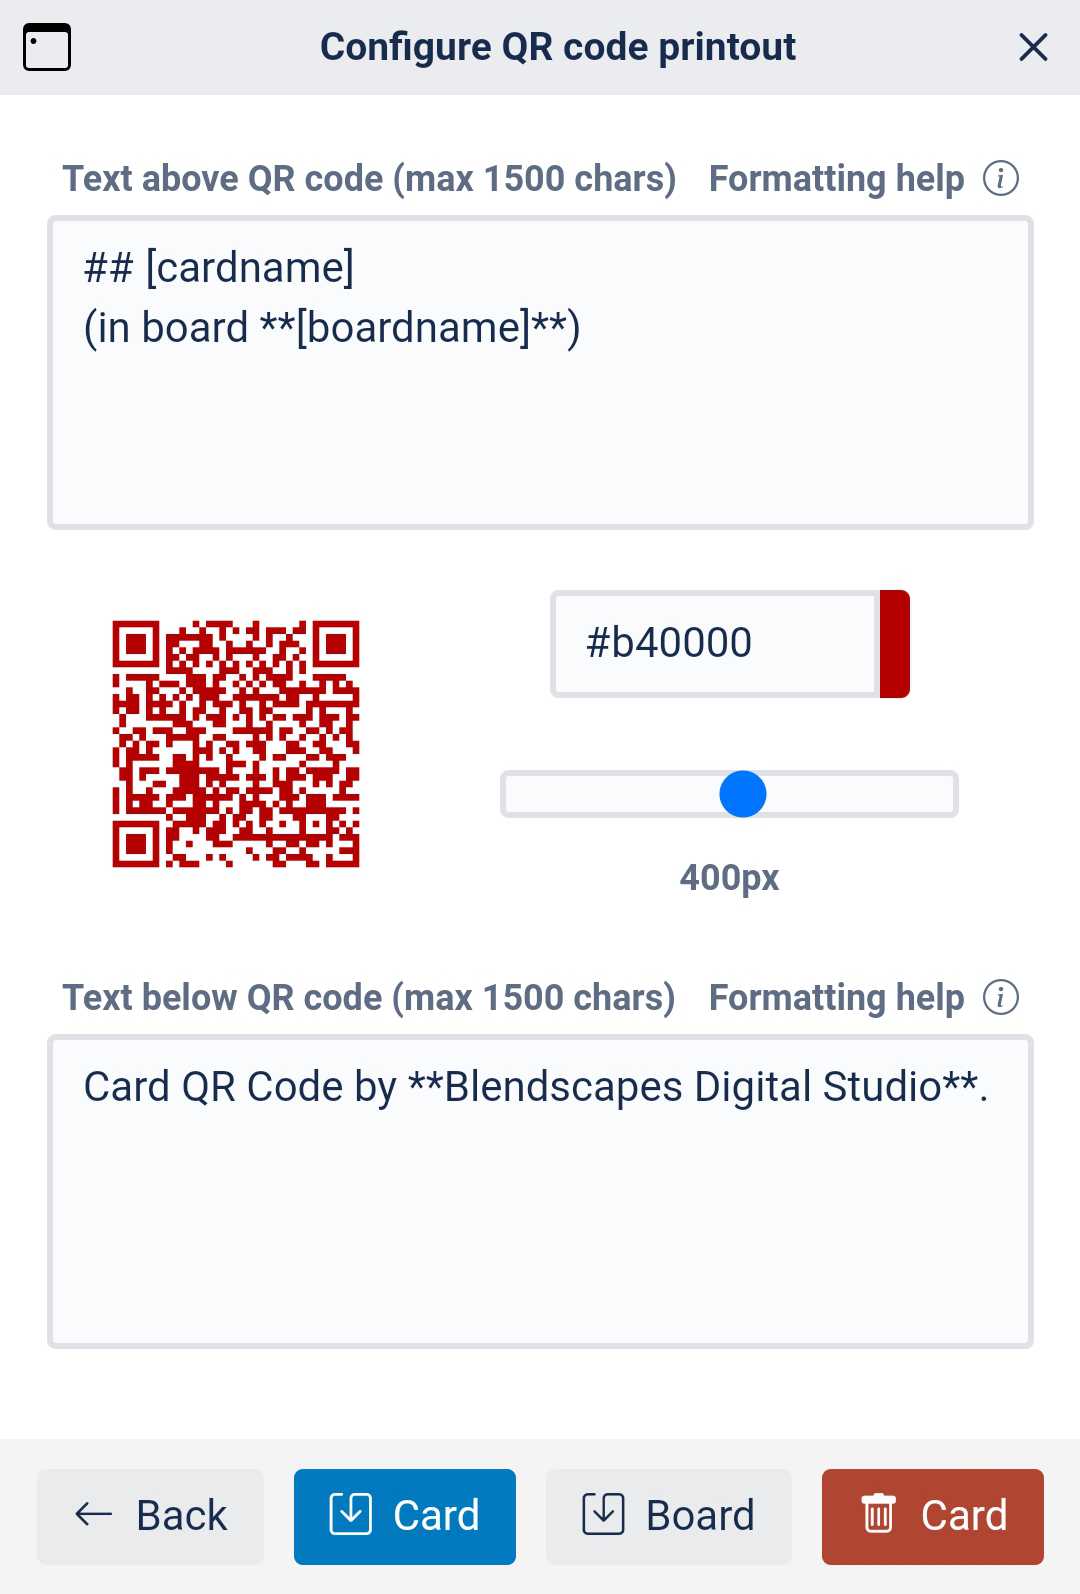
When a card has its own specific template (see below the top-left icon indicating that this configuration only applies to this card), the bottom bar includes a delete-card red button, which allows you to remove this card's template. If the template is removed, this card will start using the default board template instead. Note that the Delete Card red button will not delete the actual card, but only the QR code configuration specific to this card. Once deleted, either a board configuration (if defined in a licenced version) or the default one will then apply to this card QR code.
The Formatting help link on top of each text box leads you to a brief reminder of the formatting rules, with links to the following sections.
Markup formatting
The text above and below the QR code can be configured using markup language, the same that can be used when writing a card description. This can include:
# Level-1 header, also obtained by underlining some text with===## Level-2 header, also obtained by underlining some text with---- Bold is achieved by surrounding text with a double asterisk
** - Emphasized text (italics) is obtained by surrounding text with a single asterisk
* - For images, use
 - Two lines start a new paragraph.
Please note that links are not supported.
Placeholders
The text surrounding the QR code may include the following placeholders:
[boardname]→ replaced by the current board name;[cardname]→ replaced by the active card name;[cardid]→ replaced by the active card ID;[carddesc]→ replaced by the active card description;[curdate]→ replaced by the current date, using the default date format DD/MM/YYYY. This can be overriden by writing[curdate MM/DD/YYYY][startdate]→ replaced by the start date set on the active card, using the default date format DD/MM/YYYY. This can be overriden by writing[startdate MM/DD/YYYY]. Note that this placeholder will return an empty string if the active card has no start date set;[duedate]→ replaced by the due date set on the active card, using the default date format DD/MM/YYYY. This can be overriden by writing[duedate MM/DD/YYYY]. Note that this placeholder will return an empty string if the active card has no due date set.
Alignment
The text above and below the QR code, and the QR code itself, are by default displayed and printed centered. You may include commands in square brackets to change the alignment (left, center, right) of these elements. These commands can be placed in either text field for the above or below the QR code, it does not matter which one includes them. The following commands are available and can be used to align all elements at the same time (the QR code and any text above or below):
[left]→ to align everything left;[center]→ to align everything in the center (this is the default state);[right]→ to align everything right.
If you need to align specific elements differently (the QR code, the text above or below the code), you can use the following commands:
[text above left]→ to align the text above the QR code left;[text above center]→ to align the text above the QR code in the center;[text above right]→ to align the text above the QR code right;[QR code left]→ to align the QR code left;[QR code center]→ to align the QR code in the center;[QR code right]→ to align the QR code right;[text below left]→ to align the text below the QR code left;[text below center]→ to align the text below the QR code in the center;[text below right]→ to align the text below the QR code right;
Note that global and specific alignment commands can be used together. For example, you may enter [left][QR code right] to indicate you
need everything aligned left apart from the QR code, which should be aligned right. This setting will produce a display (and a corresponding printout)
similar to the one shown below.